Streamlining API with Swagger.io
date
Mar 12, 2016
slug
api-swagger-io
status
Published
tags
Tech
summary
Step-by-step tutorial to run Sinatra server and Swift client
type
Post
This article is a companion of the talk I did for Melbourne Mobile about Swagger.
You can find the slides at SlideShare. I’m skipping majority of the contents covered in the slides, so please read through them first =)
What is Swagger?
It is a group of projects under the Swagger banner that works together to ease the pain of developing and documenting API. In this article’s scope, we are only going to play with Swagger-editor
Installing Swagger-editor locally
Just run these commands in your terminal of choice:
git clone https://github.com/swagger-api/swagger-editor.gitcd swagger-editornpm startThe ‘npm start’ will take quite a bit of time to start because it has to install all the dependencies and compiles the app. When it is done, it will launch a web browser with your locally installed Swagger-editor.
Swagger specs to write in the editor
When the editor launches, we can start writing our Swagger spec into it and see how it will be displayed on future Swagger-ui. If you are wondering about the syntax that Swagger can understand, please head over to the OpenAPI github page. That page can also be accessed from Swagger-editor; just click Help -> Swagger 2.0 Specs.
Play around with it for a while :)
Now put this code-block into the editor panel:
Our API specs for Hello World and sum two numbers
The code should be pretty self-explanatory. The only thing that isn’t obvious would be the property operationId, which means nothing in Swagger-UI now but will be used as method name in the code generated for server and client stub.
Now the UI (right hand side) should display the API in an easy-to-understand format. The ‘Try this operation’ will fail now, because we do not have a server running on port 4567 to handle the request yet.
Generating server and client stub
Now click on the ‘Generate Server’ and choose ‘Sinatra’. Wait for your web browser to download the zip file.
After that, please do the same for ‘Generate Client’ and ‘Swift’.
Fleshing out Sinatra implementation
When you unzip the generated server stub file, you should be getting this folder structure:
.├── Gemfile├── Gemfile.lock├── README.md├── api│ └── default_api.rb├── config.ru├── lib│ └── swaggering.rb├── my_app.rb└── swagger.yamlFeel free check out the files to see what’s in there. The ‘README.md’ is especially helpful.
The bulk of the generated API will be inside ‘api/default_api.rb’. Please open that file using your favourite editor.
Now you shall see the two methods inside the file for the two API that we had specified in the editor before. Feel free to read through it.
Swagger-codegen will just generate the stubbed boilerplate for the api. It doesn’t know how to implement the functions to return correct result. If we just run the Sinatra server now, all we are getting would be:
{“message” => “yes, it worked”}We don’t want that, do we?
Lets flesh out the implementation for the route /hello/{name}. Please replace this code block:
{“message” => “yes, it worked”}.to_jsonto:
helloName = params[:name].to_s{“message” => “Hello #{helloName}”}.to_jsonSinatra will take the name parameter, parse it to string, and save it in variable helloName. It will then return the properly constructed Json message.
Let’s do the same for the route /sum/{first}/{second}. Replace the stubbed Json message with:
firstNum = params[:first].to_isecondNum = params[:second].to_isum = firstNum + secondNum{“message” => “The sum of #{firstNum} and #{secondNum} is #{sum}”}.to_jsonYou can probably guess what this code does by now :)
The default_api.rb file should look like this:
Yay, we are all done! See how easy it is to create a Sinatra server from scratch using the code generation?
Lets run the server using command:
$ rackup -p 4567 config.ruThis command will spin up a Rack server at port 4567 running our api.
After the server is running, you can go back to the Swagger-editor and play around with the ‘Try this operation’.
Consume api on Swift app
This step is a bit convoluted for non iOS dev as it requires dependency management using Cocoapod. So we speed through most of it. You can skip ahead and get the ready-to-use codes in github.
The short story for iOS dev who wants to follow:
- unzip the generated swift client from Swagger-editor
- create an empty iOS project in the same directory
- disable ATS to enable http call (iOS 9 forces https)
- close Xcode and cd into the project directory
- do pod init to create an empty Podfile
- enter pod ‘SwaggerClient’, :path => ‘../’ into the Podfile
- run pod install
Once you are done with pod install, please open up the generated xcworkspace. It should show a structure like this image
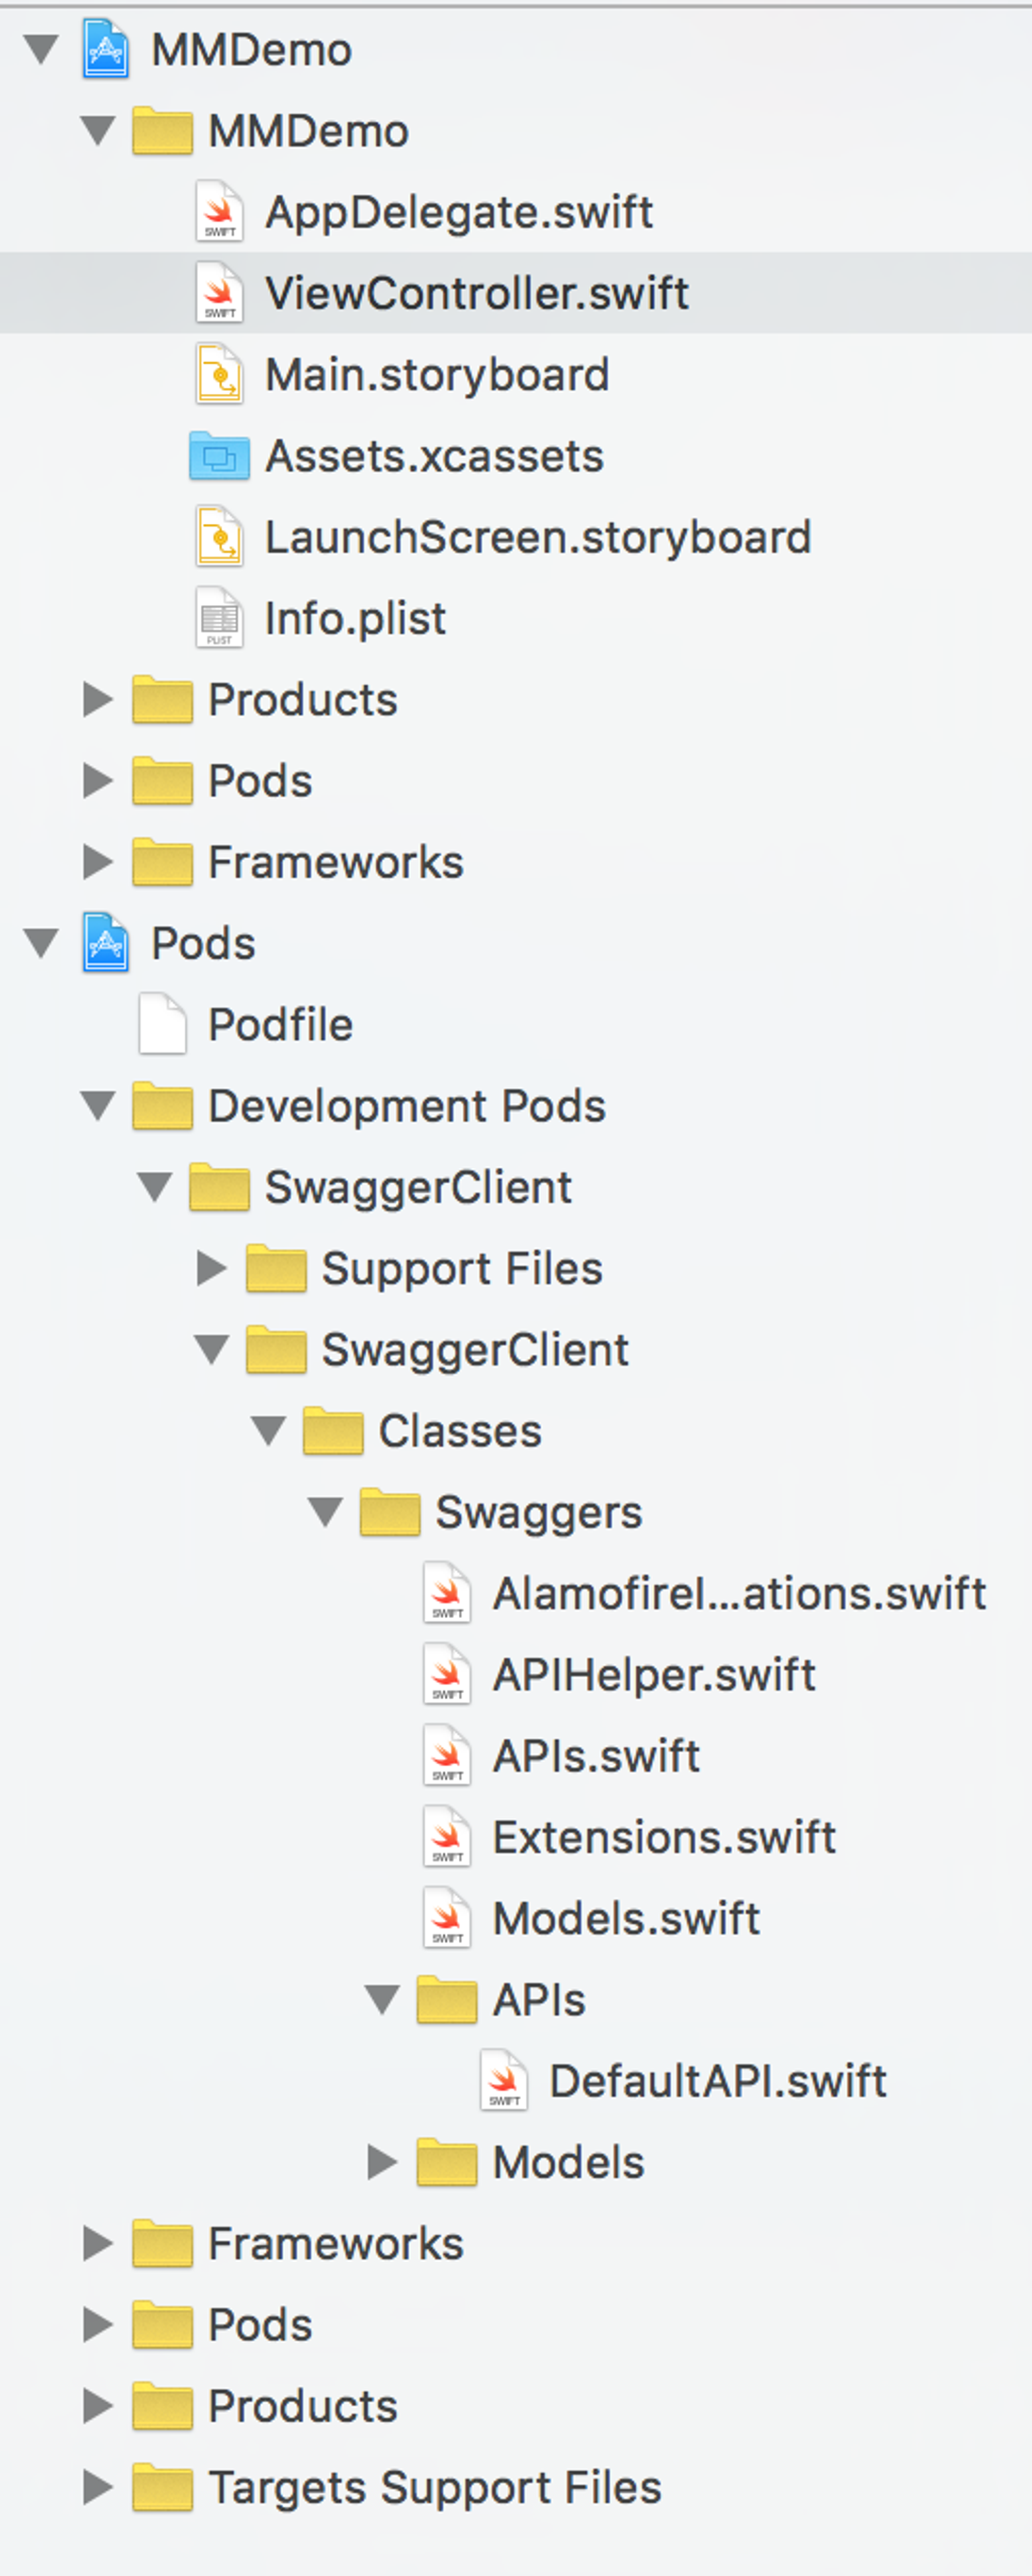
project structure after pod install
The generated codes will be inside DefaultAPI.Swift file. You can see that it has two methods:
public class func greetUser(name name: String) -> RequestBuilder<Inline_response_200> { ... }public class func sumTwo(first first: Int, second: Int) -> RequestBuilder<Inline_response_200> { ... }This is actually functions that we can use straight away in our iOS app. Lets get started!
Open up the ViewController.Swift and import SwaggerClient just below the import UIKit statement. The import should look like:
import UIKitimport SwaggerClientNext we need to add a code to let SwaggerClient know our Sinatra server URL:
The viewDidLoad() method should now look like
Now that Swagger know where our server is, just call the generated method!
Press cmd+R to run the project. If everything is working like its supposed to, your Xcode console should look like:
Hello MelbourneGreat! We have connected the Swift client to the server by just writing three lines of codes! Lets add the next api call just below the greetUser().
The console should show:
Hello MelbourneThe sum of 2 and 4 is 6All done!
Summary
During the course of this tutorial, we have learned how to:
- install and run Swagger-editor locally
- write Swagger spec using OpenAPI specs
- generate Sinatra server and Swift client using Swagger-codegen
- fleshing out the Sinatra implementation
- consuming the api using generated Swift package
Thanks for reading, I hope this is useful for you. Please let me know if you have questions :)
The project is up on Github: https://github.com/augusteo/Swagger-Sinatra-Swift-Example